
Risk Management for Forex Traders: The Complete Framework That Separates Professionals from Gamblers
Most traders don't blow up because they picked the wrong direction. They blow up because they never had a plan for being wrong.
Risk management isn't a chapter in a trading book you skim past. It's the entire foundation. Every professional trader — at every prop desk, hedge fund, and funded trading firm — treats risk as the first decision, not an afterthought.
This guide breaks down the exact risk management framework used by professional currency traders. Not theory. Not "tips." A working system you can implement today.
Why Most Traders Get Risk Management Wrong
Here's what typically happens:
A trader finds a setup. It looks great. They enter with a position size that "feels right." The trade goes against them. They move their stop. It keeps going. They add to the loser. By the time it's over, a single trade has wiped out two weeks of gains.
Sound familiar?
The core mistake isn't the trade. It's the absence of a pre-defined framework for:
- How much capital is at risk on any single trade
- How correlated positions compound exposure
- When to cut losses — not based on hope, but on math
- How drawdowns should trigger behavioral changes
The Professional Risk Framework: Four Layers
Professional traders don't just set a stop loss and call it risk management. They operate within a layered system.
Layer 1: Per-Trade Risk
The rule: Never risk more than 1–2% of your trading account on a single trade.
This isn't arbitrary. It's survival math.
| Account Size | 1% Risk per Trade | 2% Risk per Trade |
|---|---|---|
| $10,000 | $100 | $200 |
| $50,000 | $500 | $1,000 |
| $200,000 | $2,000 | $4,000 |
At 1% risk per trade, you would need to lose 70+ consecutive trades to draw down 50%. At 2%, that number drops to about 35. Both are statistically improbable if your strategy has any edge at all.
How to calculate position size:
Position Size = (Account Balance × Risk %) / (Entry Price − Stop Loss Price)This formula should be second nature. If you're calculating position size after you've entered a trade, you've already failed.
Layer 2: Daily and Weekly Loss Limits
Per-trade risk protects you from one bad decision. Daily and weekly limits protect you from a sequence of bad decisions — or worse, from tilt.
Recommended limits:
- Daily loss limit: 3–5% of account
- Weekly loss limit: 7–10% of account
When you hit a daily limit, you stop trading for the day. No exceptions. When you hit a weekly limit, you stop for the week.
This sounds extreme until you realize that every professional trading desk on Wall Street enforces the exact same rule. It's not optional. It's policy.
The reason is psychological as much as financial: losses create emotional pressure that degrades decision-making. The best risk management accounts for the fact that you are human and you will make worse decisions under stress.
Layer 3: Correlation and Portfolio Risk
This is where most retail traders are completely blind.
If you're long EUR/USD and long GBP/USD, you don't have two independent trades. You have one bet on dollar weakness at double the size.
Common hidden correlations in Forex:
- EUR/USD and GBP/USD — highly correlated (both anti-USD)
- AUD/USD and NZD/USD — highly correlated (both commodity/risk-on)
- USD/JPY and equity indices — often correlated (risk sentiment)
- Gold (XAU/USD) and USD/CHF — inversely correlated
The rule: If you have multiple positions in correlated pairs, your effective risk is the combined exposure, not the individual trade risk.
Professional traders think in terms of net exposure:
- What is my total USD exposure across all pairs?
- What is my net risk-on vs. risk-off positioning?
- If the dollar moves 1% against me, what's my total P&L impact?
If you can't answer these questions in real time, your risk management has a gap.
Layer 4: Drawdown Protocols
Every trader has drawdowns. The difference between professionals and amateurs is what they do during drawdowns.
A structured drawdown protocol looks like this:
| Drawdown Level | Action |
|---|---|
| 5% from peak | Review all open positions. Reduce size by 25%. |
| 10% from peak | Cut position sizes in half. Review strategy. No new experimental trades. |
| 15% from peak | Stop trading. Full strategy review. Paper trade for 1 week minimum. |
| 20%+ from peak | Pause live trading entirely. Reassess edge, market conditions, and psychology. |
This isn't about fear. It's about information. A 15% drawdown is a signal — either your strategy isn't working in current conditions, or your execution has drifted. Either way, the correct response is to reduce exposure, not increase it.
The Math That Makes This Work
Here's why strict risk management is the single highest-ROI activity for any trader:
Scenario: Two traders with identical 55% win rates and 1.5:1 reward-to-risk
After 200 trades:
- Trader A has a smooth equity curve, approximately +22% return, max drawdown of ~8%
- Trader B has a volatile equity curve, may be up 40% or down 50%, and there's a meaningful probability of a catastrophic drawdown
Same edge. Same win rate. Same reward-to-risk. Completely different outcomes.
The edge doesn't matter if risk management destroys it.
Implementing This Framework Today
You don't need to overhaul your entire trading approach. Start with these concrete steps:
This week:
- Define your per-trade risk percentage (1% recommended for accounts under $50K)
- Calculate position size for your next 3 trades using the formula above
- Set a daily loss limit and write it down where you can see it
This month:
- Audit your current positions for correlation risk
- Create a simple drawdown protocol (use the table above as a starting point)
- Track your actual risk per trade vs. your target for 30 days
Ongoing:
- Review risk metrics weekly: actual risk taken, correlation exposure, drawdown level
- Adjust position sizes based on recent performance (smaller during drawdowns, normal during equity highs)
Key Takeaways
- Risk management is a four-layer system: per-trade risk, daily/weekly limits, correlation awareness, and drawdown protocols
- Never risk more than 1–2% per trade — the math is non-negotiable
- Correlated positions multiply your real exposure; always think in terms of net exposure
- Drawdowns require pre-planned responses, not emotional reactions
- The same trading edge produces wildly different results depending entirely on risk management
This post is part of our Forex Trading Foundations series.
Related Articles
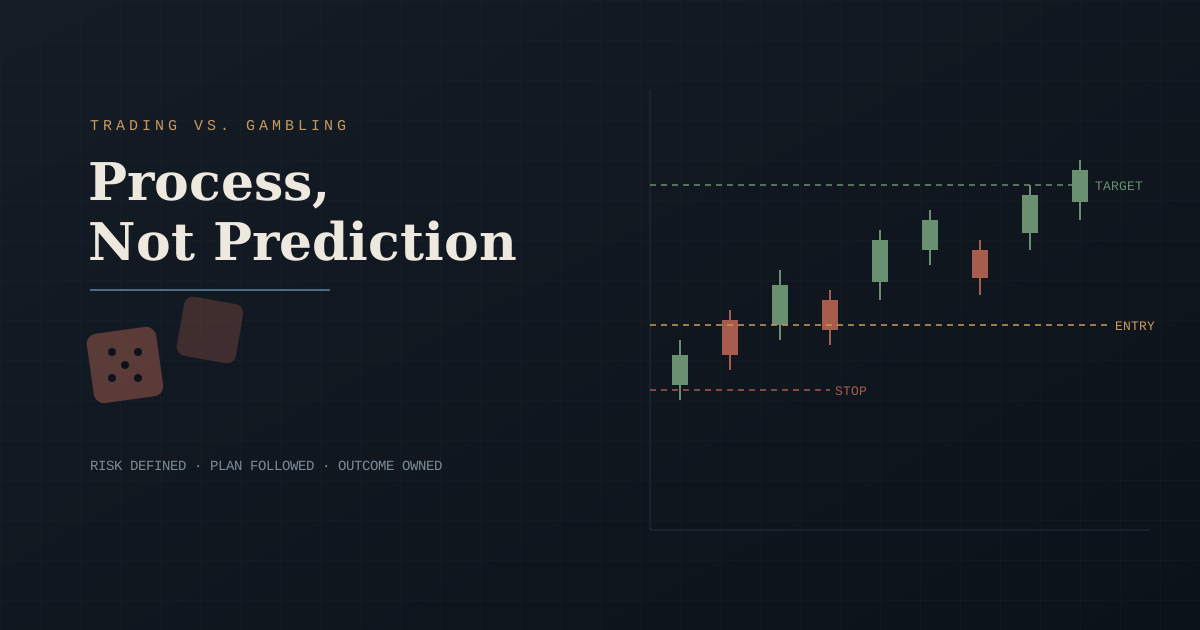
Trading vs. Gambling: What Actually Separates the Two
Trading and gambling both involve risk — but only one relies on a repeatable process. Here's what actually separates a trader from a gambler.
How Firms Manage Risk at Scale
Most traders think about risk in personal terms. But at the professional level, risk becomes a system-level challenge. Learn how firms manage exposure across markets, strategies, and traders to build consistent, long-term performance.
Position Sizing Calculator: How to Size Every Forex Trade Correctly
Position sizing is the mechanical bridge between your risk management plan and every trade you place. This guide breaks down the exact formula, worked examples for different account sizes, and the five most common sizing mistakes.